1. Click on “LuluStore” and then click on “Export”
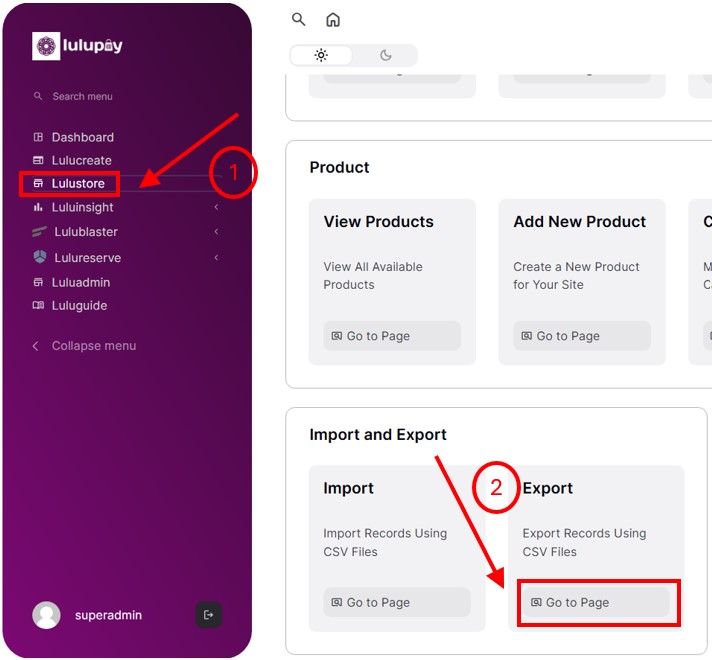
2 . The image below illustrates the “Import and Export” page. For this example, we will export a user/customer by clicking on the box.
3. Click on “Step 2: Select an export method”.
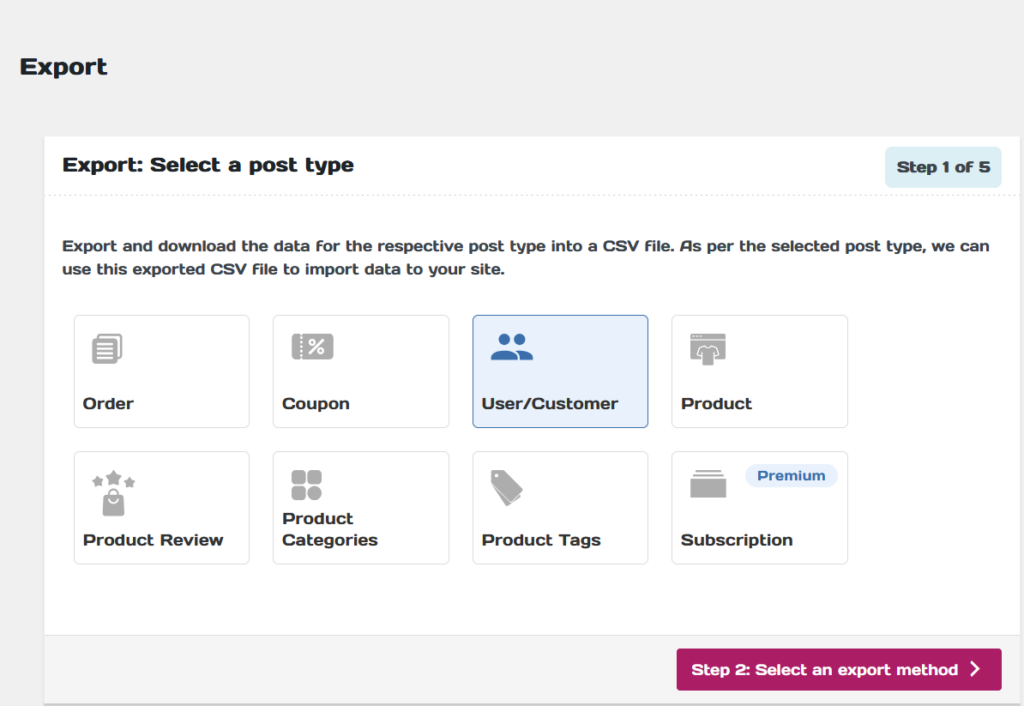
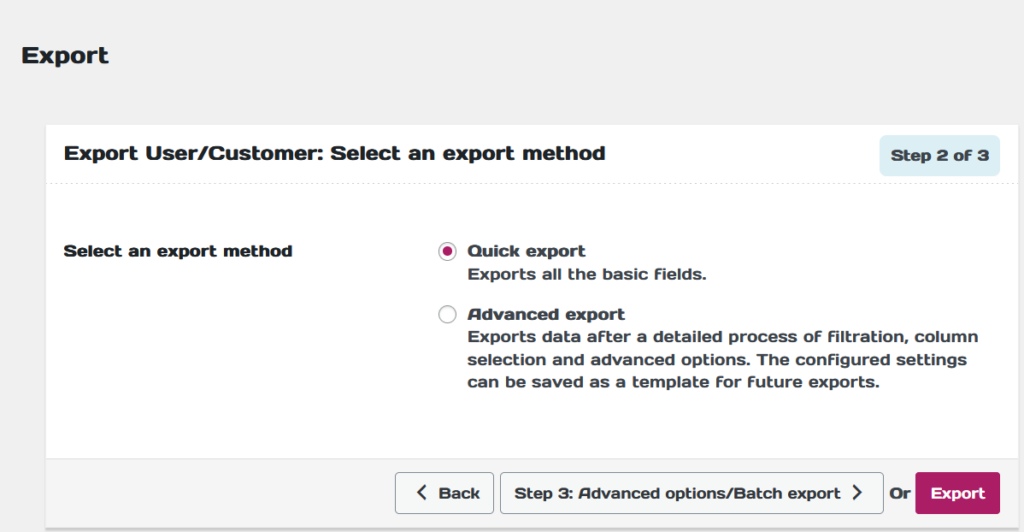
4. This will bring you the export method page where you can select what type of export you wish to see.
Quick Export #
Quick export exports all basic field where Advanced export allows you to customize the export details. If you wish to directly quick export, click “Export”.
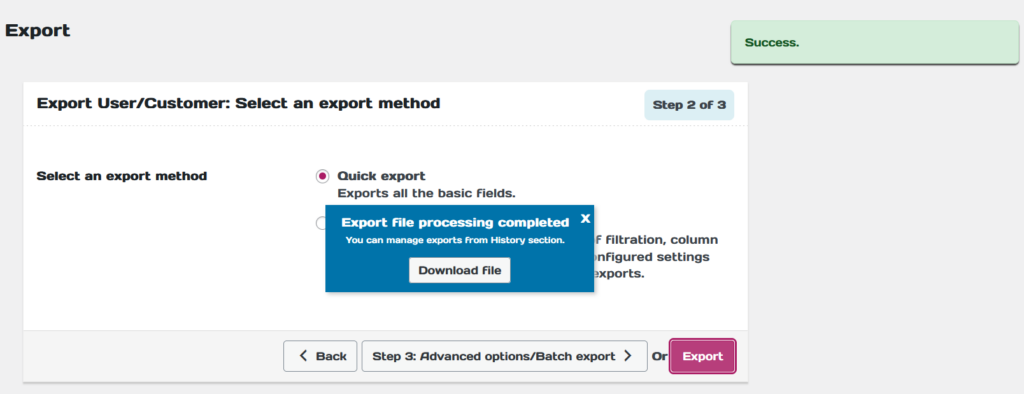
5. The image above illustrates the export file process being completed. Click on “Download file”.
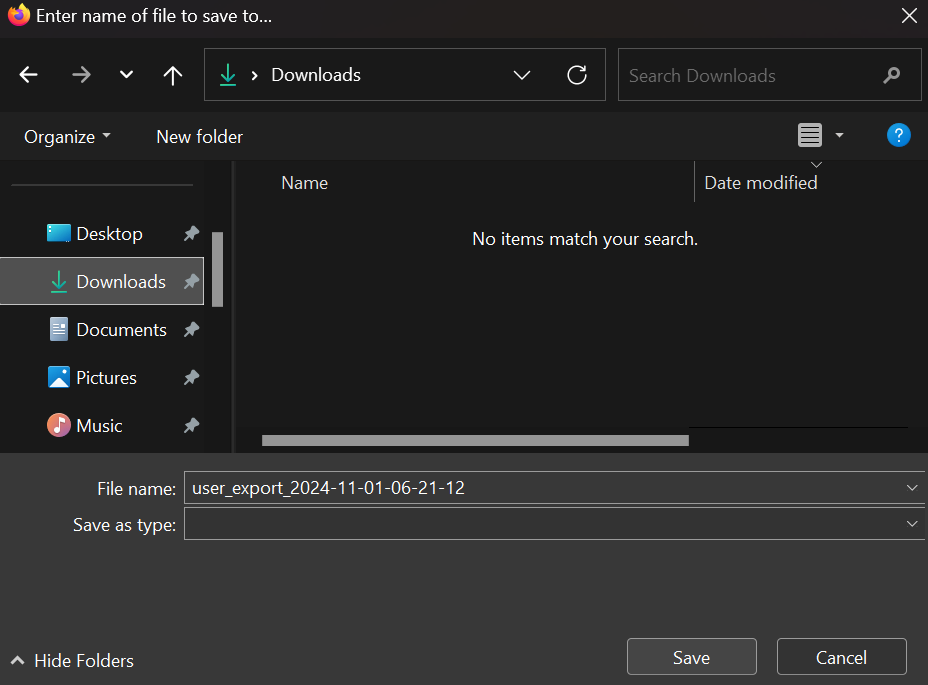
6. Now you may save the file and rename it to your own wish. Click “Save”.
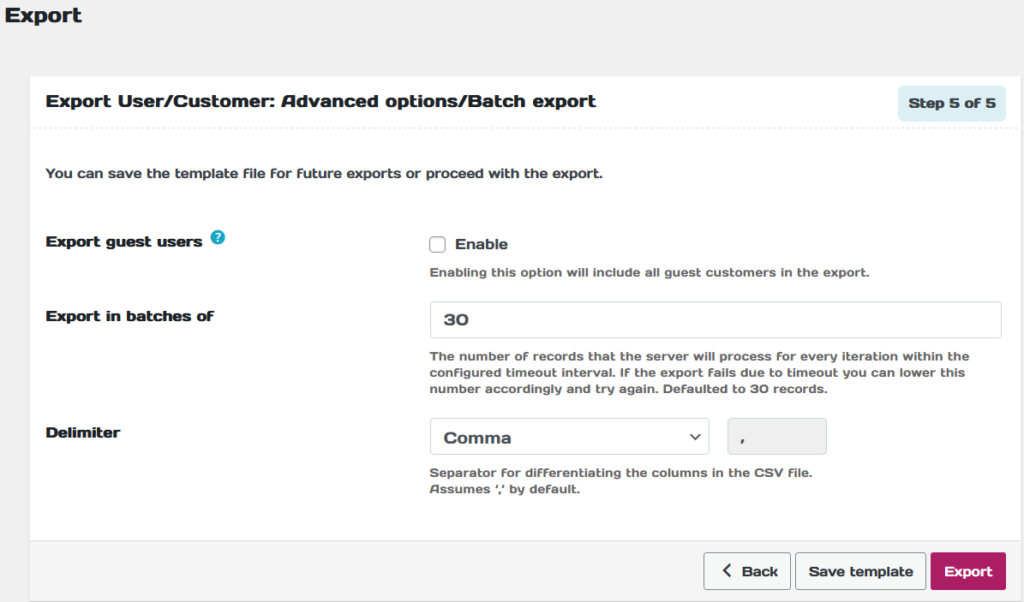
If you were the customize the export. To customize the export, click on “Step 3: Advanced options/Batch export”. The image below will appear.
There are multiple advanced options you may choose:-
- Export guest users: Enabling this will include all guest customers in the export.
- Export in batches of: Insert a number the define the number of records that the server will process for every iteration within the configured timeout interval. If the export fails due to timeout you can lower this number accordingly and try again. Defaulted to 30 records.
- Delimiter: Separator for differentiating the columns in the CSV file. Assumes ‘,’ by default.
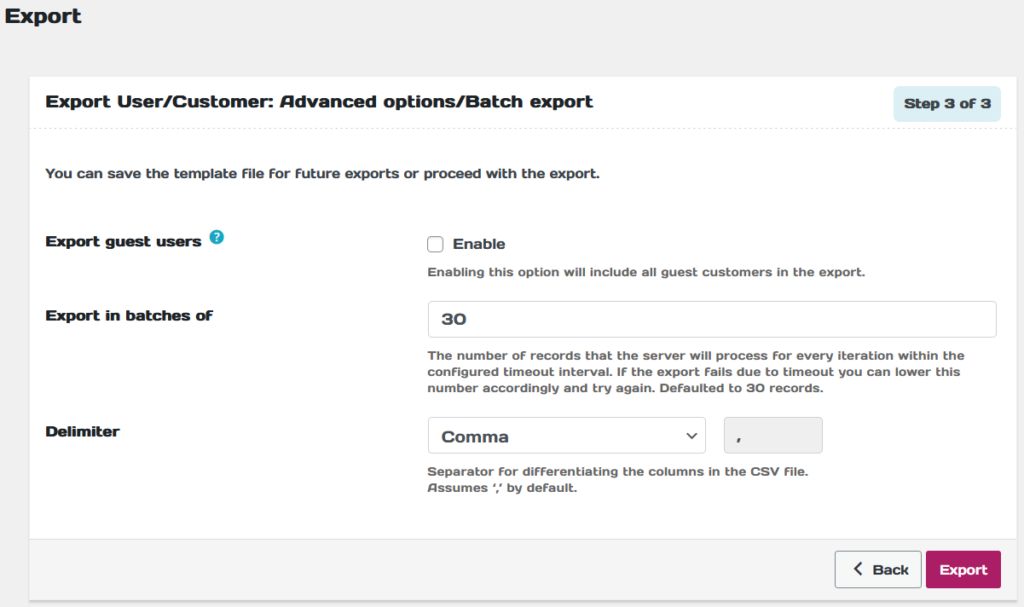
After finishing the customization, click “Export”.
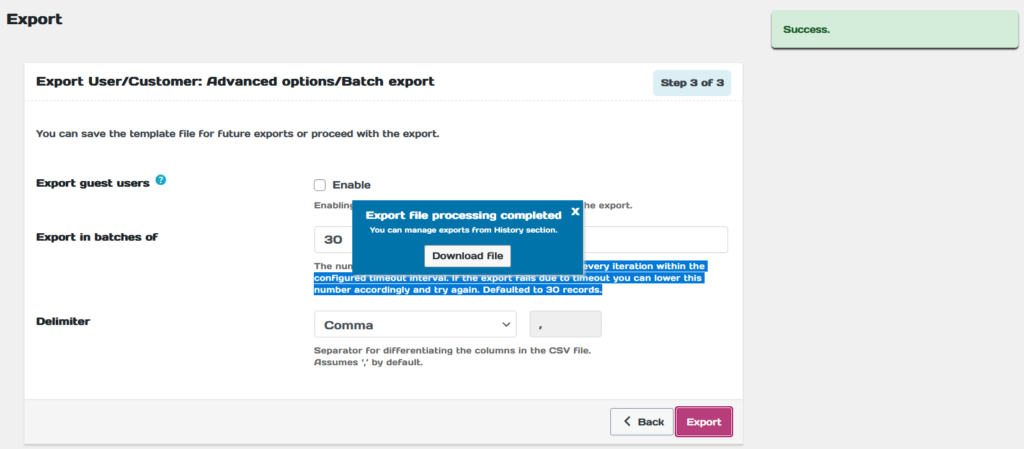
The image above illustrates the export file process being completed. Click on “Download file”.
Now you may save the file and rename it to your own wish. Click “Save”.
Advanced Export #
Once you have clicked the “Advanced export” option in step 2 of 5. Click “Step 3:Filter data”.

The image below illustrates the filter data page.
- Total number of users to export: Exports specified number of users. e.g. Entering 500 with a skip count of 10 will export users from 11th to 510th position.
- Skip first n users: Skips specified number of users from the beginning of the database. e.g. Enter 10 to skip first 10 users from export.
- User email: Input the customer name or email to specify the customers.
- User role: Input specific roles to export information pertaining to all users with the respective roles.
- Registered date from: Date on which the user registered. Export users registered on and after the specified date.
- Registered date to: Export users registered up to the specified date.
- Sort columns: Sort the exported data based on the selected columns in order specified. Defaulted to ascending order.
- Sort by: Defaulted to Ascending. Applicable to above selected columns in the order specified.

Once the filtering of the data has been made. Click on “Step 4: Map and reorder export columns”.

The image below illustrates the next page. In this page, you may reorder the export columns by hold clicking one of the rows and move it the desired row to reorder it.
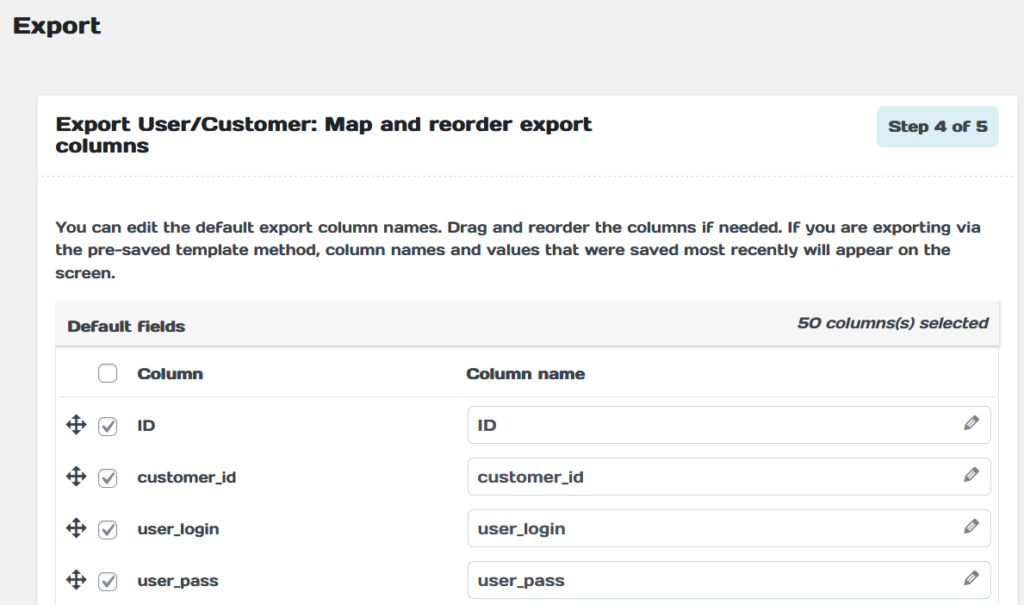
Once you have completed your reordering. Click on “Step 5: Advanced options/Batch export”.

This will bring you back to the Advanced options/Batch export page.
You may save the template by clicking on “Save template” or export it by clicking on “Export”.
Save Template #
If you click on “Save template”. You must write the template name and click “Save”.
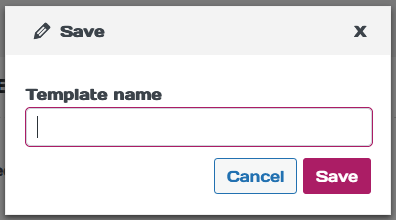
The image below illustrates a pop-up that appears once you have click “Save” and you will be back to the Advanced options/Batch export page.

Extra Note #
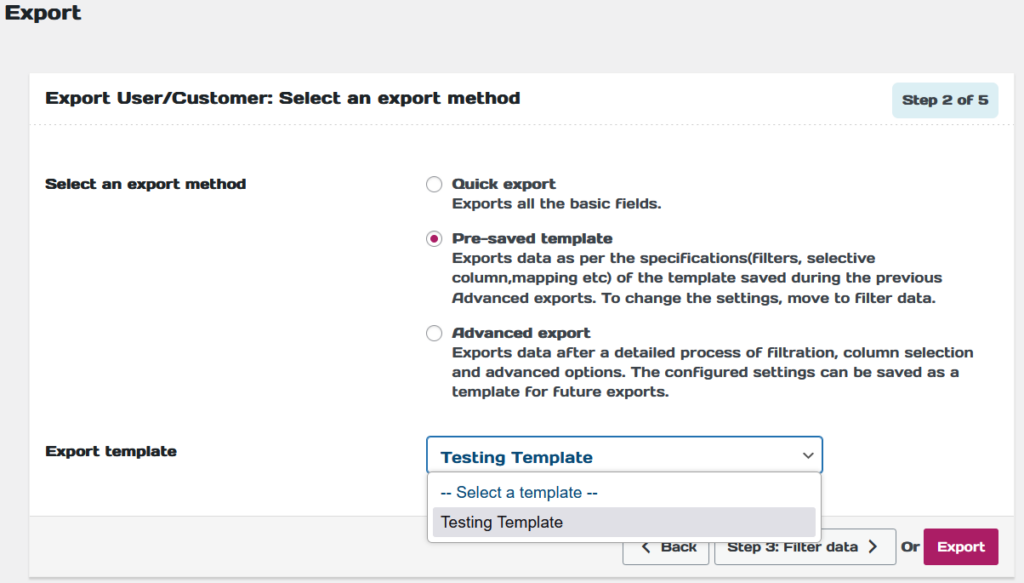
If you have saved a template, the “Select an export method” page will appear as below. Allowing you to choose your pre-saved template for the export.