To access the services information, please hover over the “LuluReserve” tab and select the “Services” option from the dropdown menu.
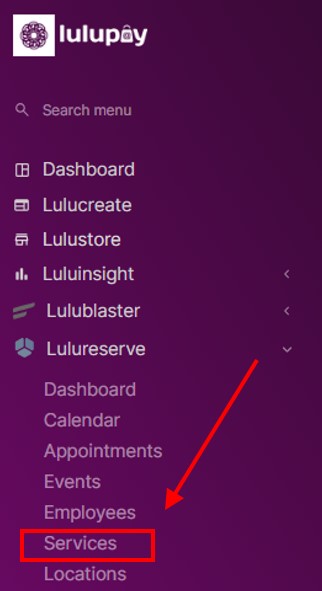
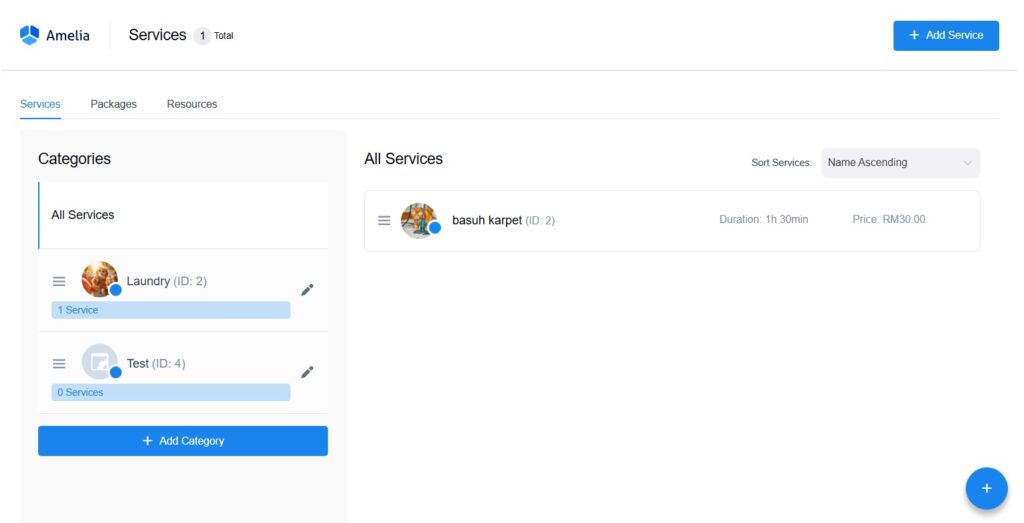
The image illustrates the services page. It contains the categories, services, packages and resources.
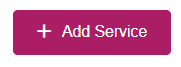
Adding a Service #
To add a new service. Click on the “Add Service” button.
After clicking on “Add Service,” a new pop-up will appear, as illustrated below. Each services profile consists of five sections that need to be completed, starting with the “Details” section.
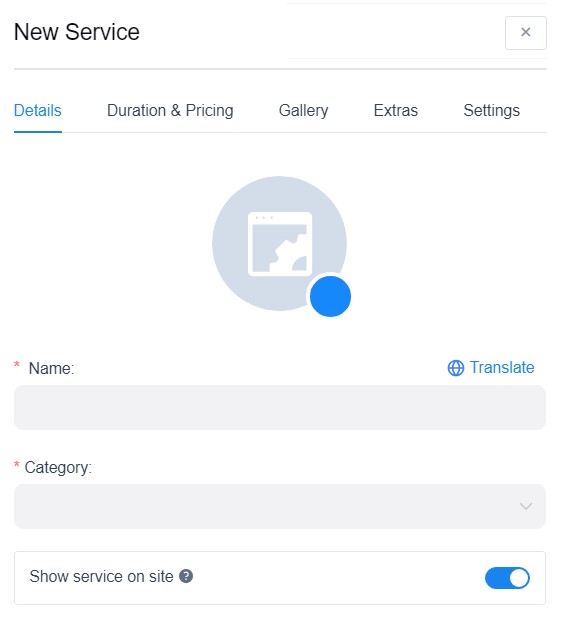
Fill in the following:-
- Profile Picture
- Name
- Category
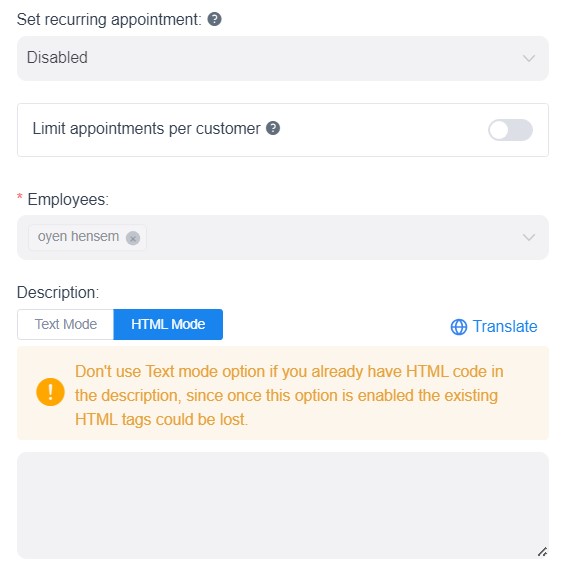
- Show Service on Site:
If this option is disabled, service will be available for booking from back-end pages only. - Set recurring appointment:
If this option is disabled, your customers won’t be able to book recurring appointments at the same time. - Limit appointments per customer:
The limit is checked by customer email - Employees:
- Description:
Don’t use Text mode option if you already have HTML code in the description,
since once this option is enabled the existing HTML tags could be lost.
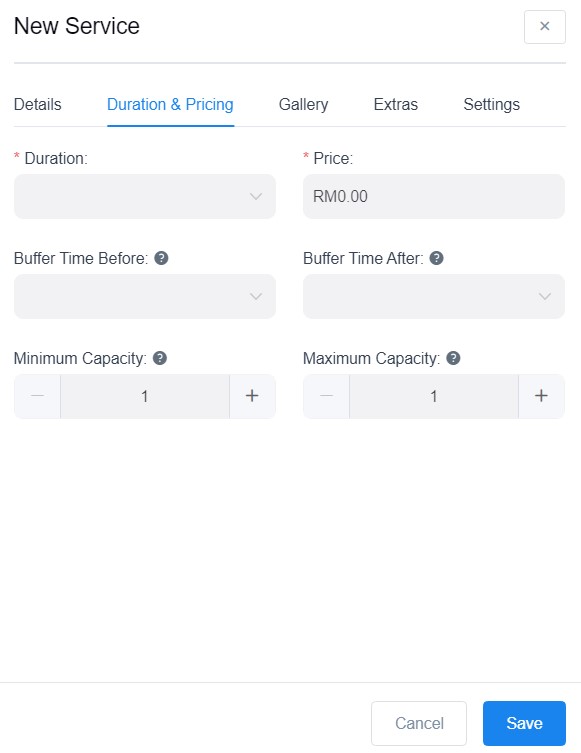
Duration & Pricing (2/5) #
The image below illustrates the “Duration & Pricing” section that must be completed. This section displays the duration of the service as well as the price.
Fill in the following:-
- Duration
- Price
- Buffer Time Before:
Time needed to prepare for the appointment, when
another booking for same service and employee
cannot be made. - Buffer Time After:
Time after the appointment (rest, clean up, etc.),
when another booking for same service and
employee cannot be made. - Minimum Capacity:
Here you can set the minimum number of people
per one booking of this service. - Maximum Capacity:
Here you can set the maximum number of people
per one appointment.
Gallery (3/5) #
The image below illustrates the “Gallery” section that must be completed. This section displays the images used to represent the service to the users.
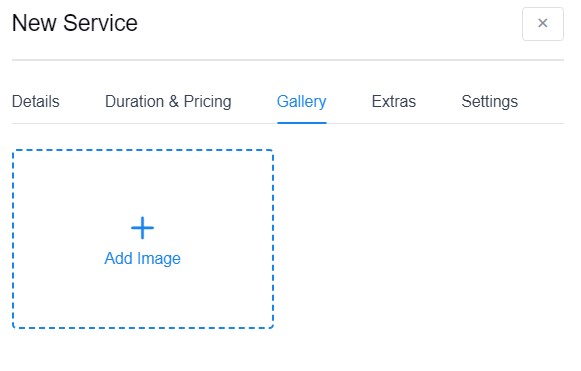
Click on the “+” sign to add an image and save.
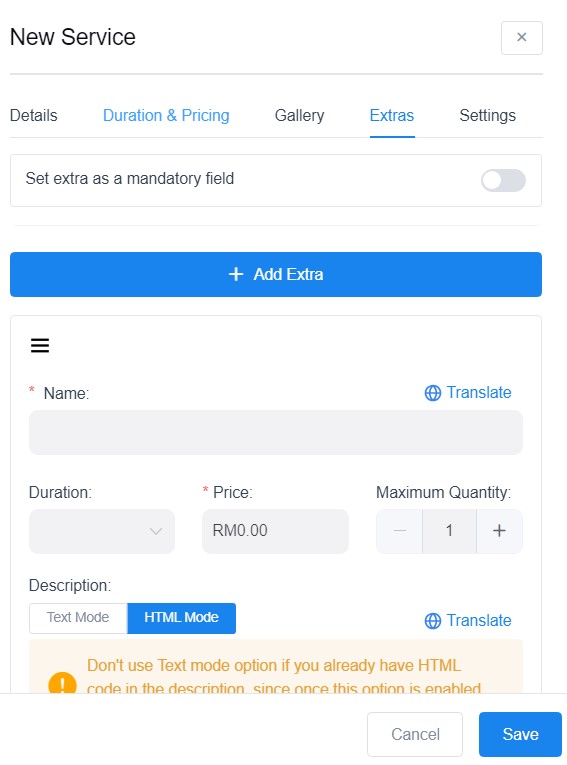
Extra (4/5) #
The image below illustrates the “Extra” section that must be completed. This section displays the extra services that can be requested by the customer.
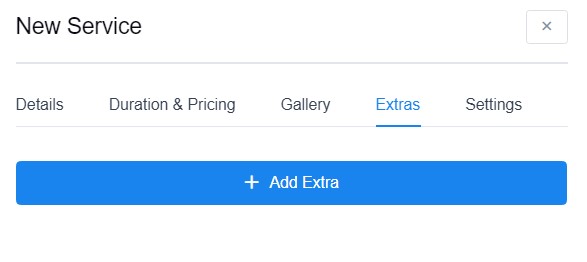
Click on “Add Extra”.
Setting extra as a mandatory field would result to having to choose the minimum required extras. ( Have to recheck again)
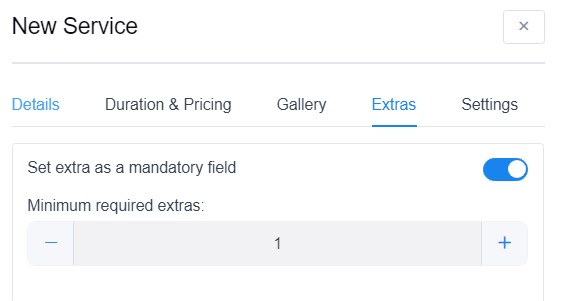
Click on “Save” above the main save button.
Fill in the following:-
- Set extra as a mandatory field:
Checking this would means that the customer must pick the extra services alongside the main service. - Name:
Name of the extra service - Duration
- Price
- Maximum Quantity:
Here you can set the maximum number of people for that extra service. - Description
Click on the bottom “Save” button.
Settings (5/5) #
The image below illustrates the “Settings” section that must be completed. This section displays the settings of the service. The settings consist of 3 small sections that can be completed, starting with the “General”.
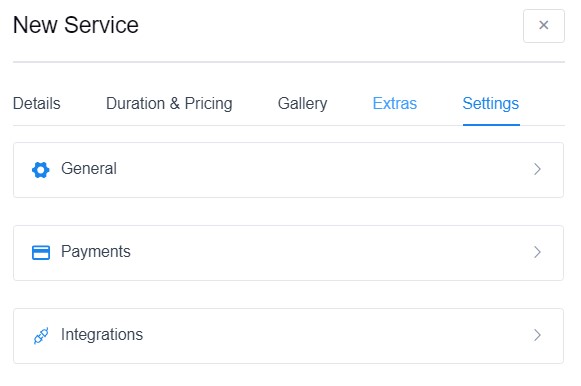
General Settings #
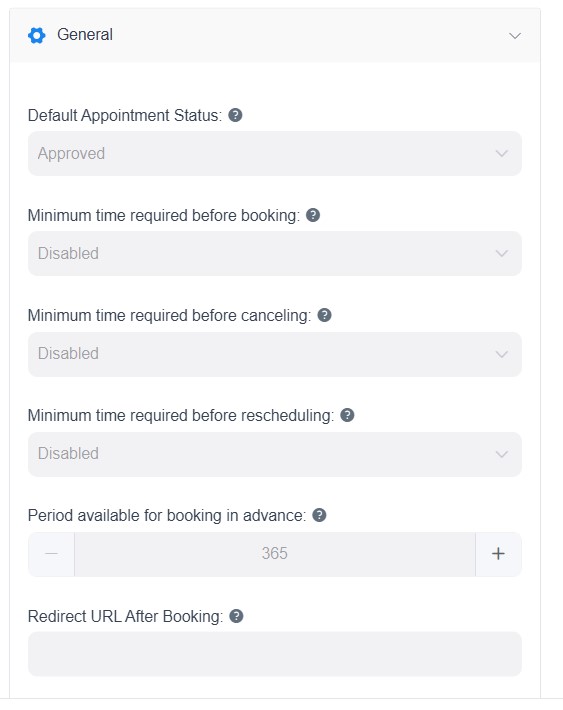
Fill in the following :-
- Default Appointment Status:
Default Appointment Status - Minimum time required before booking:
Set the time before the appointment when customers
will not be able to book the appointment. - Minimum time required before canceling:
Set the time before the appointment when customers
will not be able to cancel the appointment. - Minimum time required before rescheduling:
Set the time before the appointment when customers
will not be able to reschedule the appointment. - Period available for booking in advance:
Set how far customers can book. - Redirect URL After Booking:
Customer will be redirected to this URL once he schedules the appointment or package.
Payments #
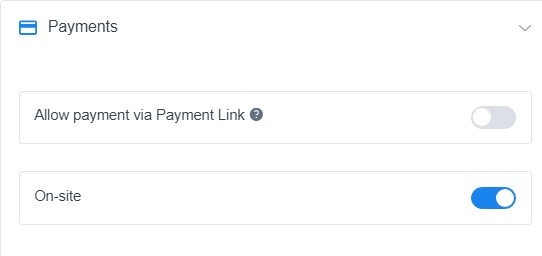
Fill in the following :-
- Allow payment via Payment Link:
If this option is enabled, customers will be able to make payments through email notifications or their Customer Panel, providing a seamless online payment method. - On-site:
This option allows customers to pay in person at the time of the service, offering flexibility for those who prefer direct transactions.
Integration #
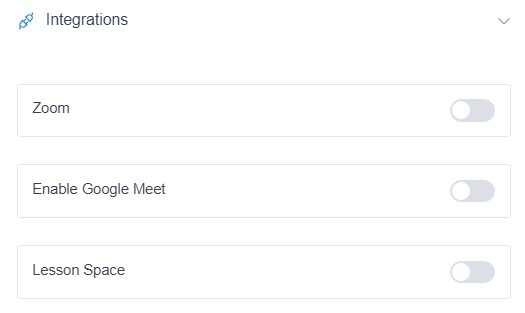
Fill in the following :-
- Zoom: Enable Zoom Integration
- Enable Google Meet: Enable Google Meet
- Lesson Space: Enable Lesson Space
Click on “Save”