Skip to content
  • Solutions
  • Resources
  • Events
  • About Us

Create Your Website

Start Building Your Website

Drag & Drop to Build Your Page

Start Selling Online

Selling Product

Reach Your Potential Online Consumers

Booking & Ticketing

Appointment, Rentals and Events

Sales & Marketing Tools

Agent & Affiliate

Boost Your Sales with Agents

Sales Campaign

Direct Customers to the Right Product

Reach Your Audience

Online Email Marketing Tools

Business Overview

Manage Your Store

Business Details and Information

Analytics & Reporting

View Your Online Web Performance

Our Story

Who Are We?

Board Members

Social Media

Facebook

Instagram

Tiktok

Youtube

Github

Reddit

Contact Us

Get in Touch

Support Form

LuluStore

9
  • How to view all orders
  • View Specific Order
  • Overview of an order
  • View, Print, Email and Delete customer invoice
  • To change status of a order
  • Customer History
  • Order Notes
  • Order Actions
  • Import & Export

LuluCreate

8
  • Banner Design: Adding or editing pictures
  • Banner Design: Adding links
  • Banner Design: Text editing
  • Banner Design: Basic Controls
  • Customize your website header
  • Create a page for news or blogs
  • Manage your media inside your website
  • Manage all your website pages

LuluReserve

12
  • Add an appointment
  • Add a Resource
  • Add a Package
  • Add a Category
  • How to add services
  • How to view employees
  • Navigating LuluReserve’s Dashboard
  • Set company-wide days off
  • Set company-wide working hours.
  • How add an employee on LuluReserve
  • How to view your employee on LuluReserve
  • How to view LuluReserve dashboard

LuluPromo

4
  • Create a new Affiliate Group
  • Add a new Affiliate
  • Fine-tune coupon setting by using advanced feature
  • Create a coupon for your customer

LuluBlaster

13
  • Create a recurring email
  • View all your email campaign
  • How to add users into a contact tag – Choose from existing list
  • How to add users into a contact tag – Manually add customer info
  • How to create new tags to be assigned to a contact
  • How to add users into a contact list – Choose from existing list
  • How to add users into a contact list – Manually add customer info
  • Group contacts in a broad spectrum with contact list
  • Add a contact manually
  • How to export your contact list to a CSV file
  • How to import contacts from CSV file
  • How to show all contacts in LuluBlaster
  • LuluBlaster Dashboard

LuluInsight

10
  • Overview
  • Products
  • Categories
  • Variations
  • Orders
  • Coupon
  • Revenue
  • Taxes
  • Stocks
  • Downloads

LuluAdmin

3
  • Business Manager
  • Users
  • Manage your company general information
  • Home
  • Docs
  • LuluCreate
  • Banner Design: Basic Controls

Banner Design: Basic Controls

With Lulupay, every website is customizable. We include a way for users to customize even further. Introducing Banner Design. With this, you can make a slider where you can put anywhere on your website. In this guide, we will discover on how to make changes to the slider to fit our needs.

1. Slider that are included in your website can be edited. To start editing your slider, log in and go to website dashboard.

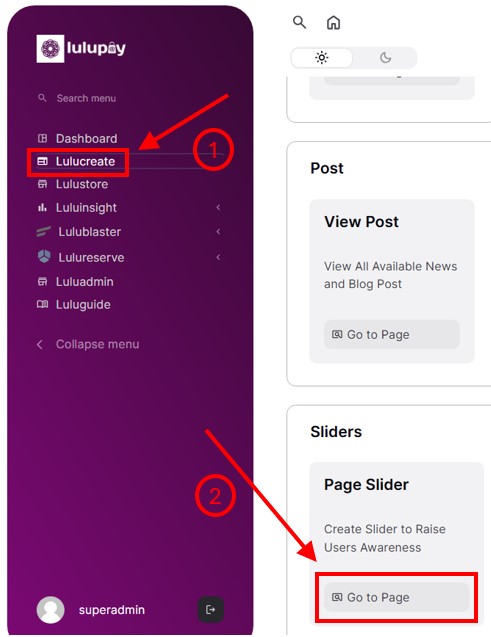
2. Click on ‘LuluCreate’ and go to Page Slider.

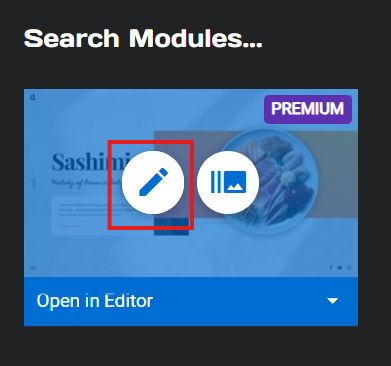
3. You will be greeted by the Banner Design wizard. Scroll down until you see the modules, then hover over your slider and click the pencil button (edit).

4. On the top, you have ‘Slides’ button. This is where you choose your activated slide that you wanted to edit. ‘Global Layers’ will show all item inside the slider. Slider #1, #2, #3 and #4 is how many slide that you have.

5. Selecting layers on your slider will make the wizard changes to the options that you can change. For example, clicking on the title will make the wizard changes to ‘Layer options’. All the options displayed below you can change as you wish.

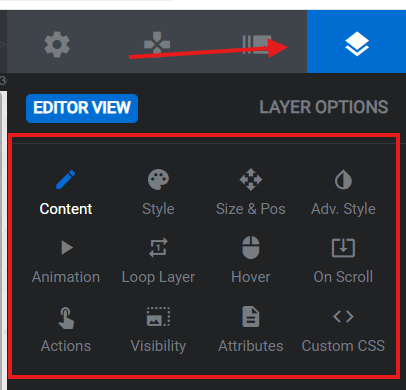
6. Below it is the changes you can apply following the options that you choose.

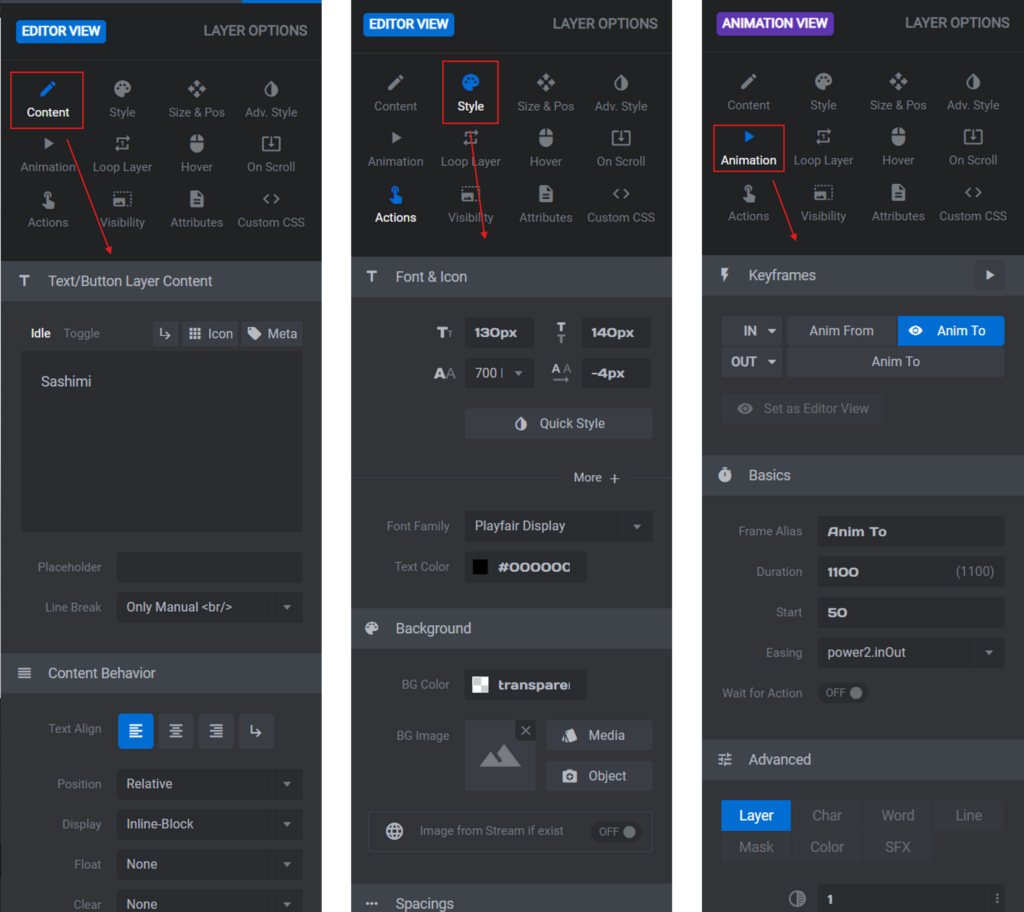
7. Below is your animation keyframe. Selecting one layer will highlighting in blue, the layer inside your preview window. This will indirectly activates the layer to be edited.

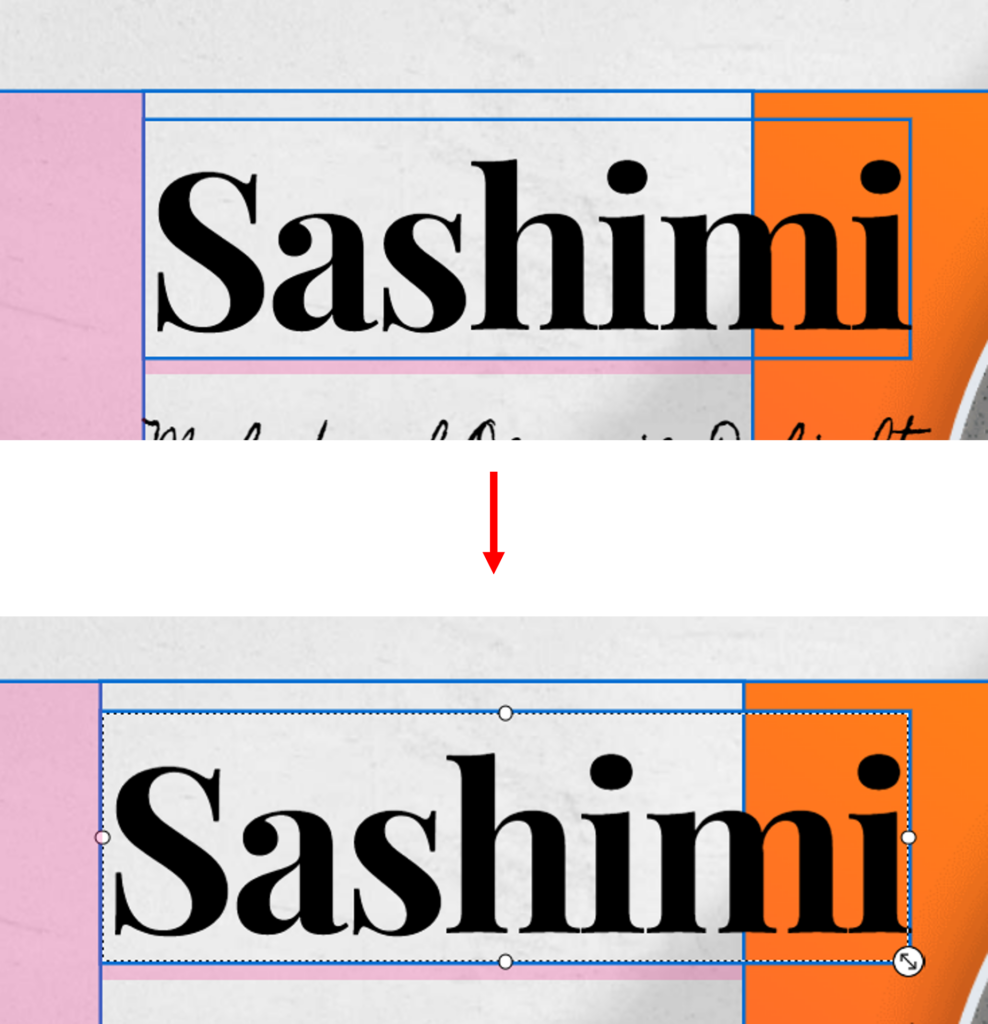
8. Clicking on the layer itself on the preview window also activates the later to be edited

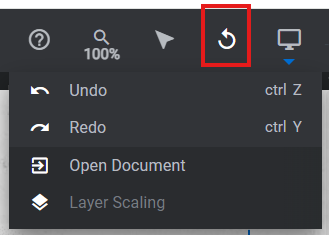
9. If you want to undo or redo your changes, the button is upper right of the screen.

?. After all changes that you have made, don’t forget to click blue ‘Save’ to save your changes. It is located at the right side of the wizard.

What are your Feelings
Share This Article :
  • Facebook
  • Twitter
  • LinkedIn
  • Pinterest
Still stuck? How can we help?

How can we help?

Updated on March 11, 2025
Banner Design: Text editingCustomize your website header

Leave a Reply Cancel reply

Your email address will not be published. Required fields are marked *

Support

Help center

Hire a Professional

Solutions

Online store builder

Website builder

Ecommerce website

Products

E-Commerce

Booking Services

Digital Marketing

Copyright © 2024 All Right Reserved – Lulupay Sdn Bhd
Facebook Instagram Tiktok Youtube
E-mail Call Facebook Chat
For more information visit Helper page.